Installing Linux Mint 🐧
November 18, 2019
Unlike the previous post, you'll notice I was ready to document this. 😉
Create the bootable USB
First thing I had to do was download the mirror from this page Opens in a new window . This was the first time I encountered mirrors and had no idea what they were.
According to this post on Quora
Opens in a new window
, mirrors are copies of the Linux program available for download.
. This was the first time I encountered mirrors and had no idea what they were.
According to this post on Quora
Opens in a new window
, mirrors are copies of the Linux program available for download.
After looking at some forums, it seems my best bet was to just download the ISO file from the first of the 16 choices for USA mirrors. It took about 20 min for the file to download. The one I went with was from "advancedhosters.com".
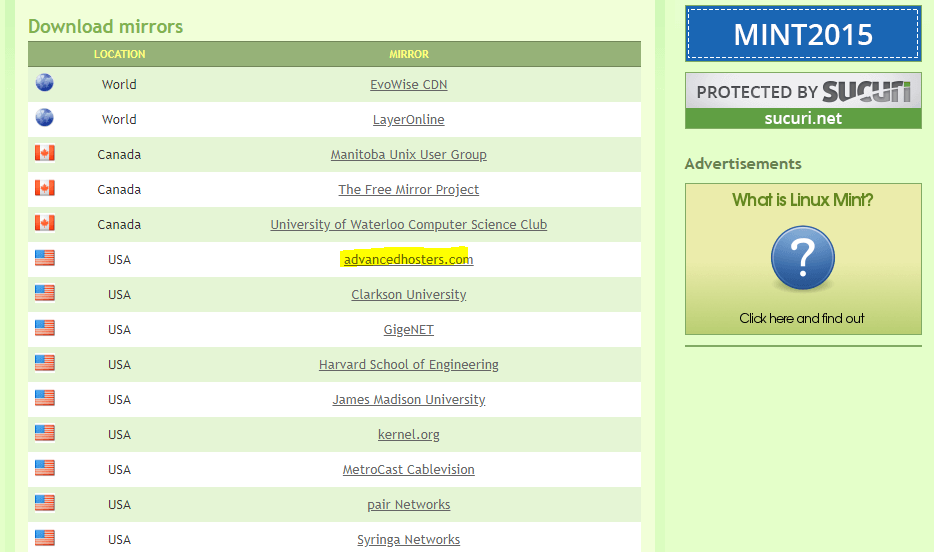 Mirrors to download on Linux Mint website
Verify the ISO file
This step was not something I did when installing lubuntu. Linux Mint strongly suggests checking to make sure the ISO downloaded has not been corrupted.
I followed the
instructions from Linux Mint
Opens in a new window which led me to these
verification steps for Windows
Opens in a new window .
I created a folder called "ISO" and put the file in it.
 Folder created for ISO file
You will need to get the sha256sum.txt and sha256sum.txt.gpg for this process. Make sure to right click and save the files, I didn't read the instructions and had to do this step again.
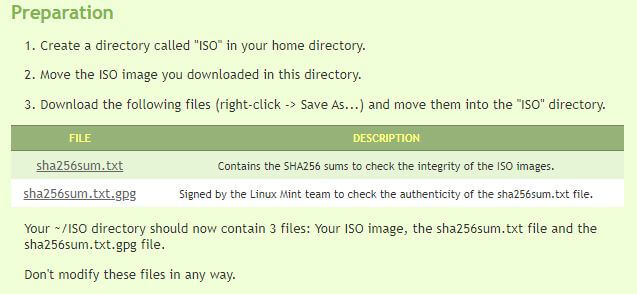 Files to add to your folder
Download the installer for GnuPG. I chose the first "download sig" for Windows.
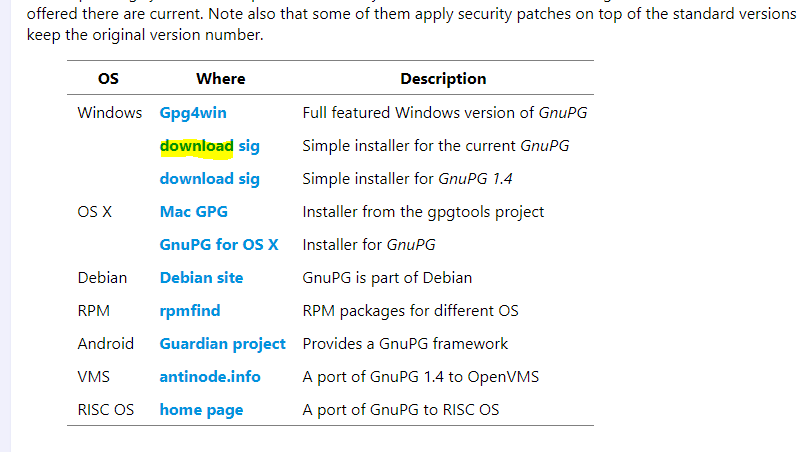 Installer page
For help in copy and pasting in the terminal for Windows, I looked at
this post on how to copy and paste in Windows command prompt
Opens in a new window .
Open your terminal in the ISO directory and run this command:
CertUtil -hashfile filename.iso SHA256
Replace "filename" with the name of your ISO file.
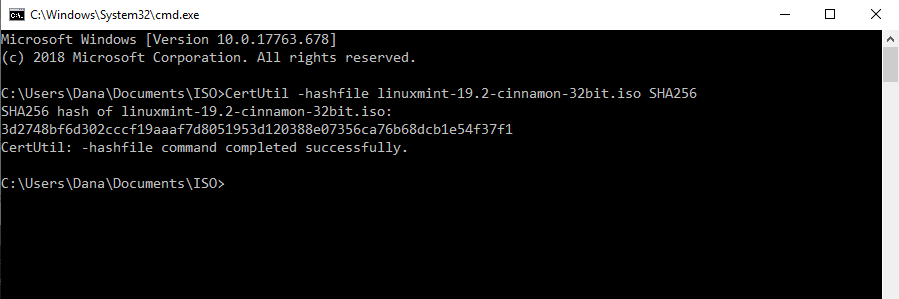 Create the hash
This took less than 1 min to finish.
There will be a hash given that is meant to be compared to the one in your ISO file to ensure that they are the same.
You could check them in the terminal.
find "hash-from-previous-step" sha256sum.txt
Of course, replace the hash you received in the quotations.
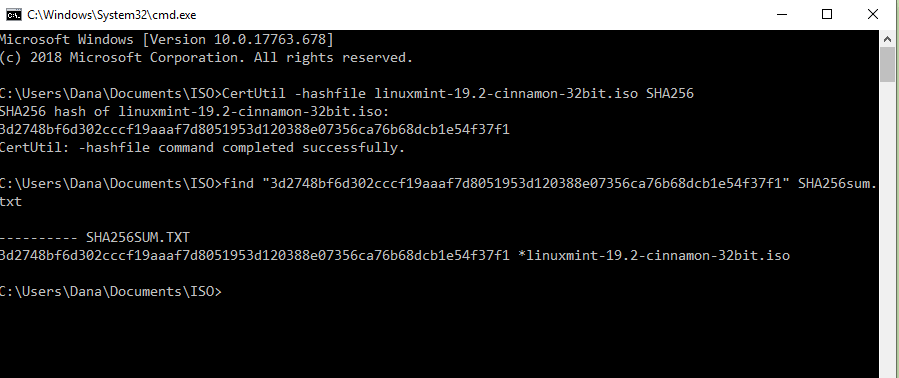 Compare hash
If the hash wasn't found then the integrity check did not pass. DO NOT use this ISO file.
Authenticity Check
Yep, we have to do both an integrity and authentication check.
From the
Windows instructions
Opens in a new window there were 3 different commands you could use for ths step. The first one worked for me.
gpg --keyserver hkps://keyserver.ubuntu.com:443 --recv-key 27DEB15644C6B3CF3BD7D291300F846BA25BAE09
The string of digits is the Linux Mint signing key.
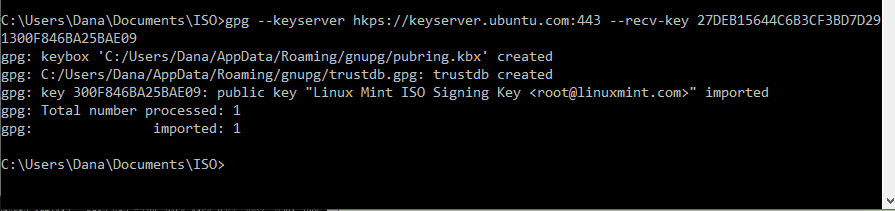 Check the signature
Now the authenticity of the sha256sum.txt file can be verified. If this passes, then the ISO file is good to go.
gpg --verify sha256sum.txt.gpg sha256sum.txt
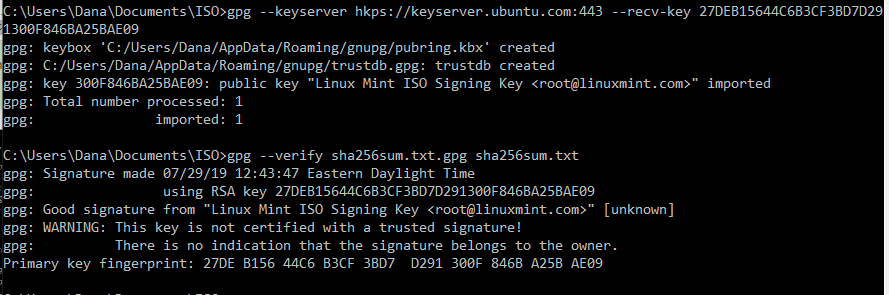 Authentication check
I received a "Good Signature" message which means that the file was signed with the key. As the post advises, I can ignore the warning message that came after.
With the ISO passing both integrity and authentication, it's time to create a bootable USB (finally).
Create bootable USB
I followed
Linux Mint's instructions
Opens in a new window and used
Etcher
Opens in a new window for this step.
Installing Linux Mint
I followed the instructions for
booting Linux Mint
Opens in a new window and the
installation options
Opens in a new window right from their website.
After inserting the USB, you will get a "live session" of Linux Mint. The OS hasn't been installed yet, this is sort of a "testing area" so you could preview what you intend to install. There will be a installer on the desktop when you decide to use it.
 Linux Mint home screen
This is the step for opting for the dual OS route. So I will have both lubuntu and Linux Mint side-by-side and can decide which one I want to use once I start my computer.
Ubuntu 16.04.3 is lubuntu.
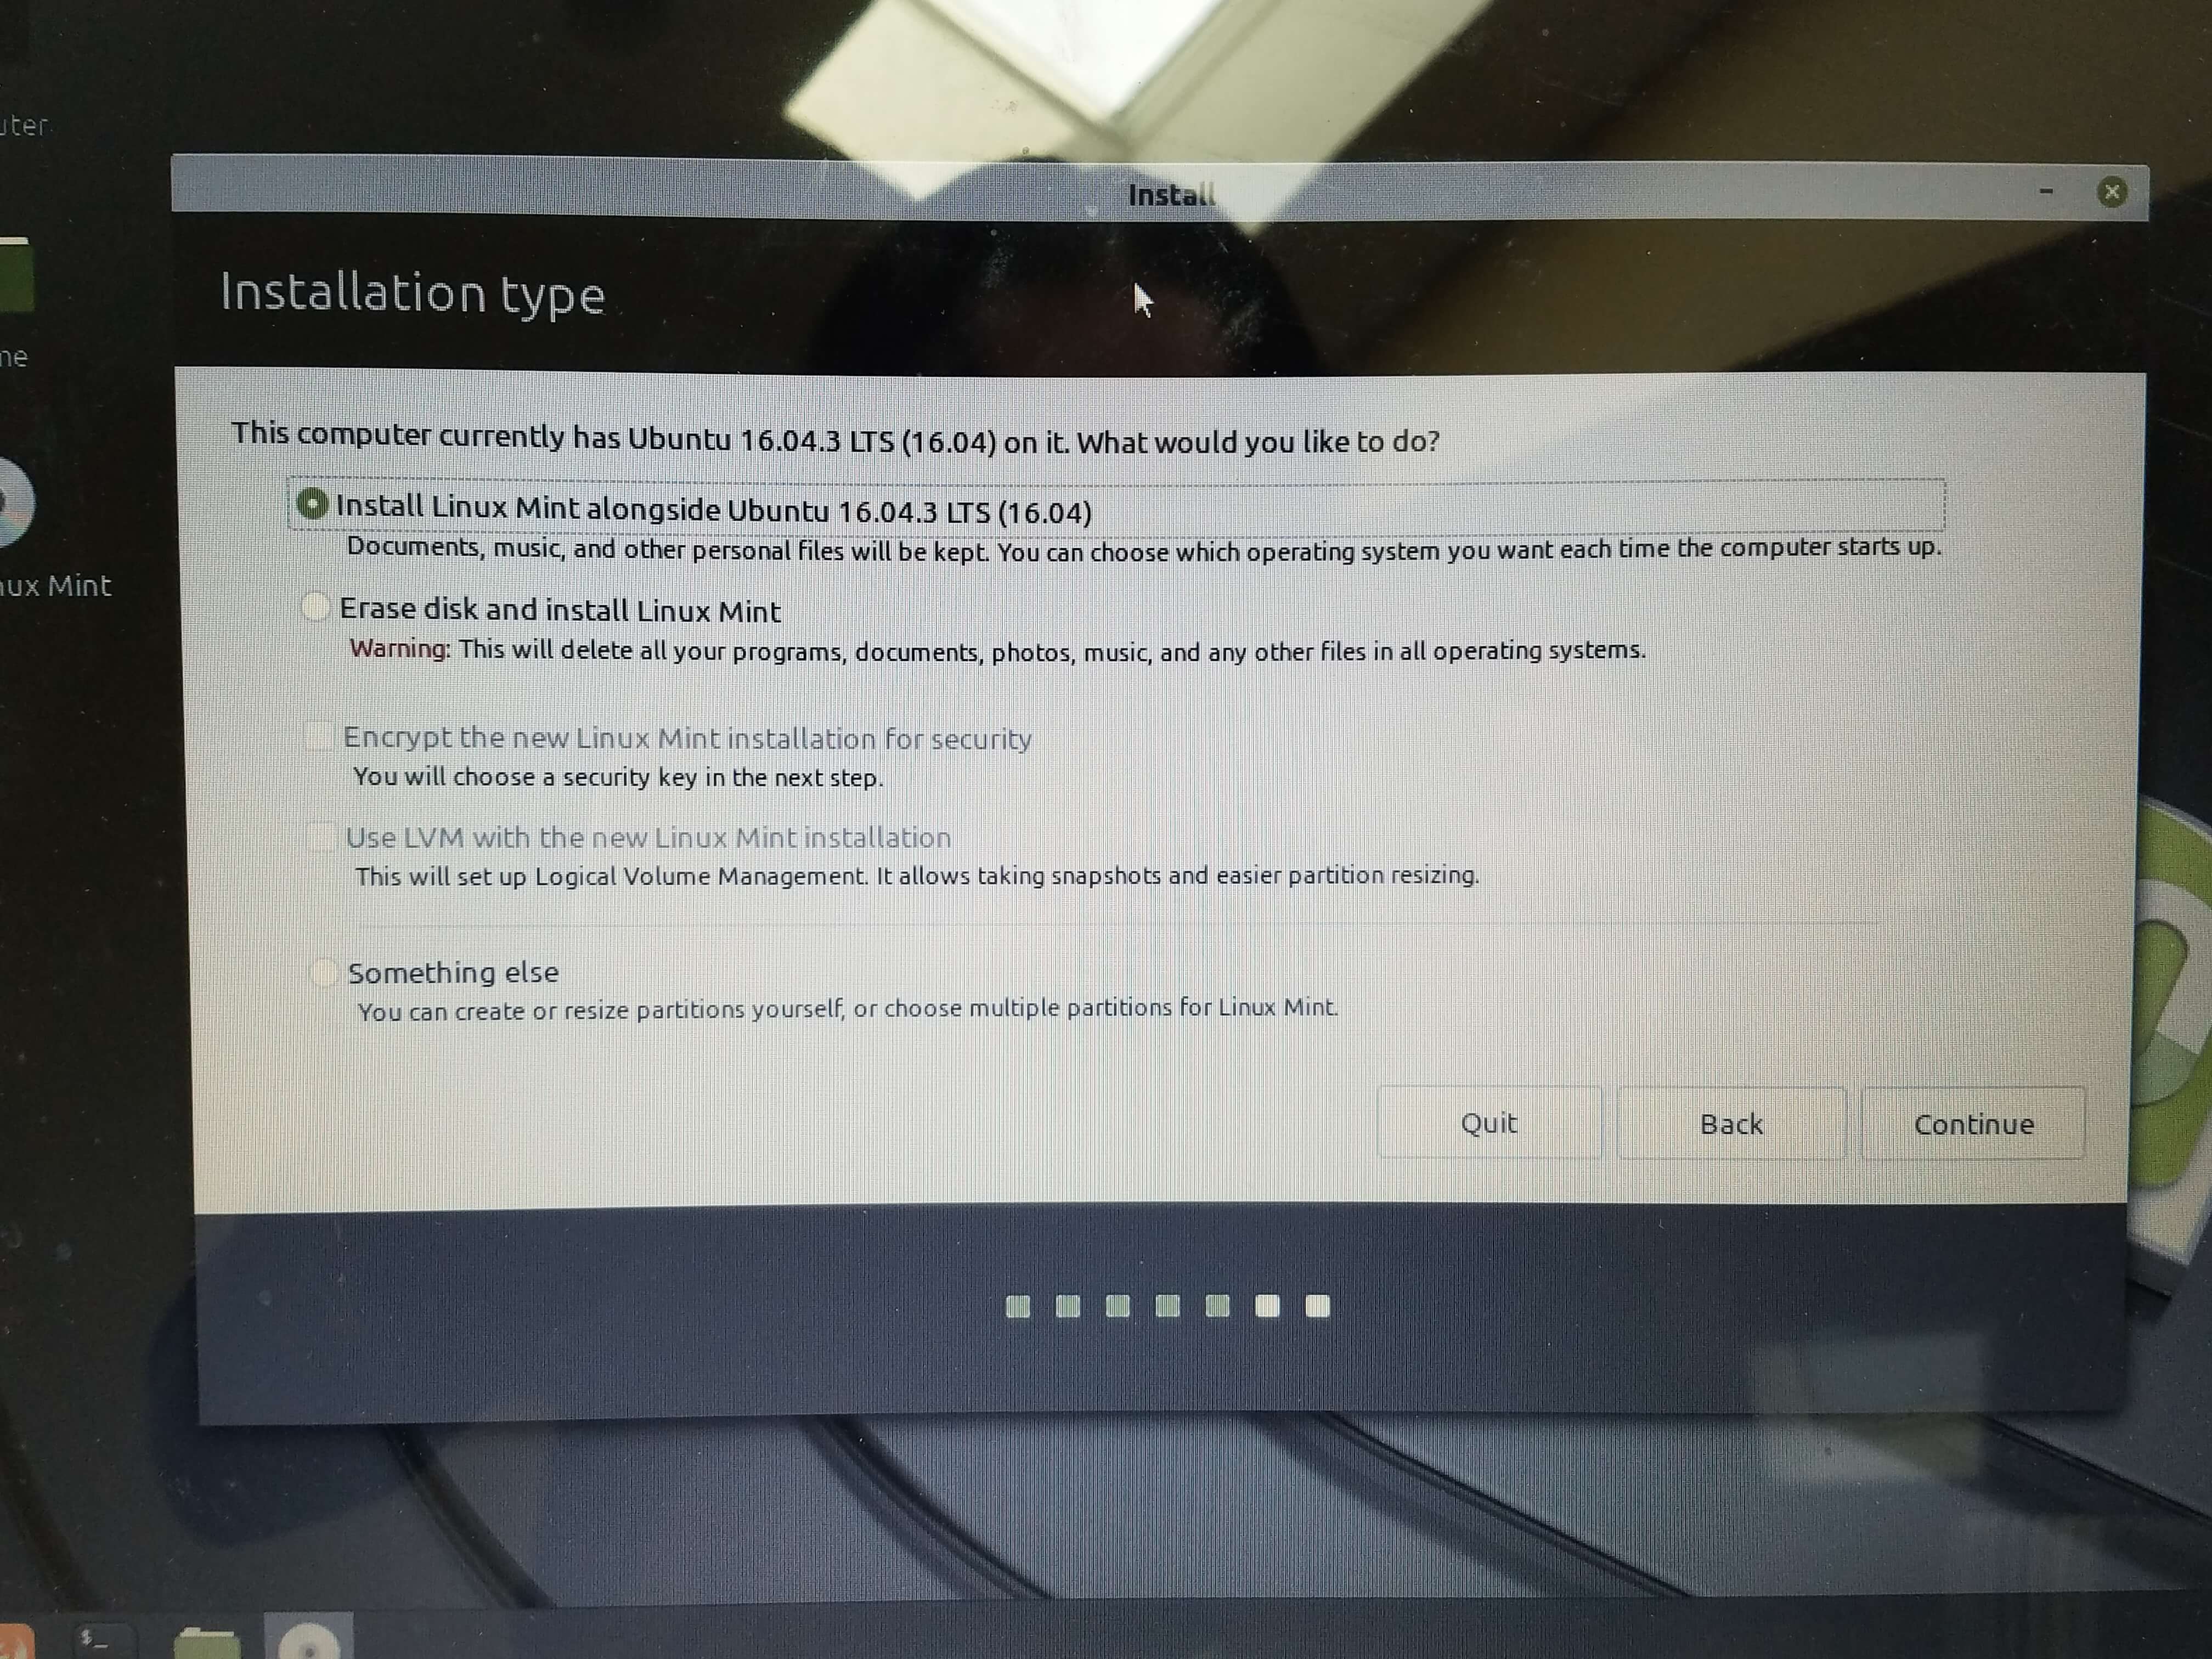 Dual OS option
This step shows only if you decide to install Linux Mint alongside your current OS. You can choose how much space each OS can take up on your hard drive.
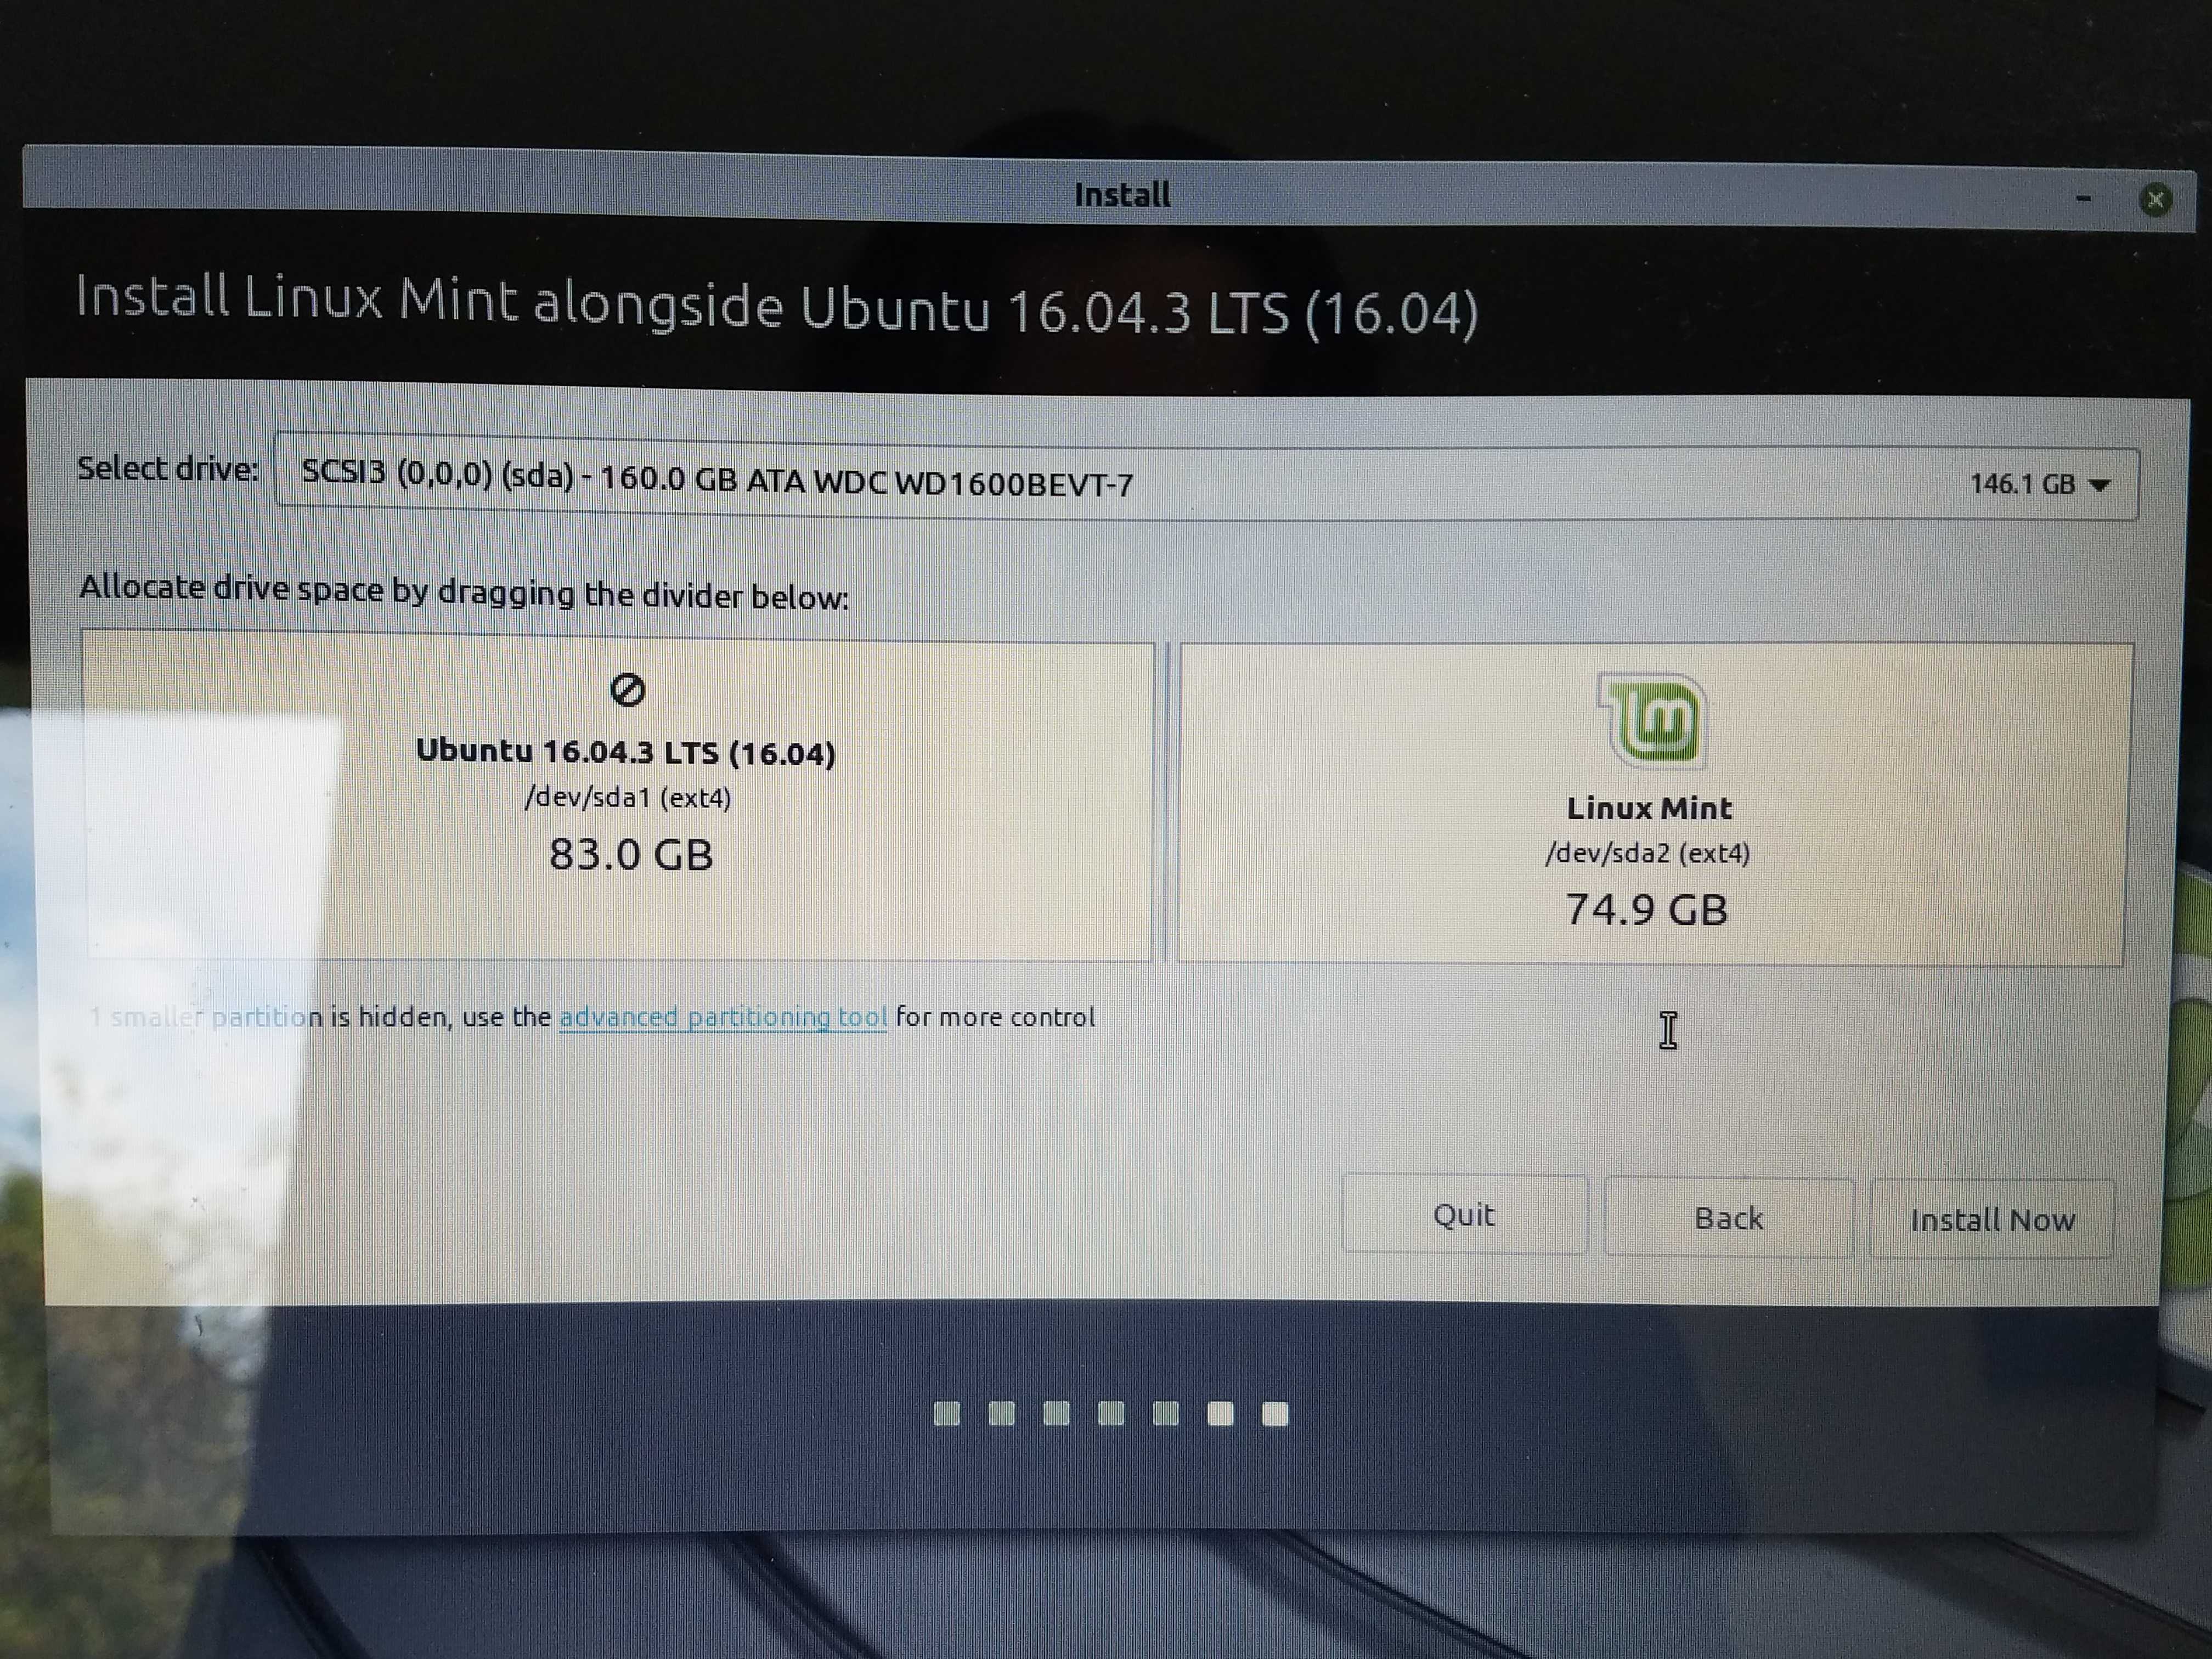 Partition option
Unlike when I installed lubuntu, I knew when to remove my USB when this message came up.
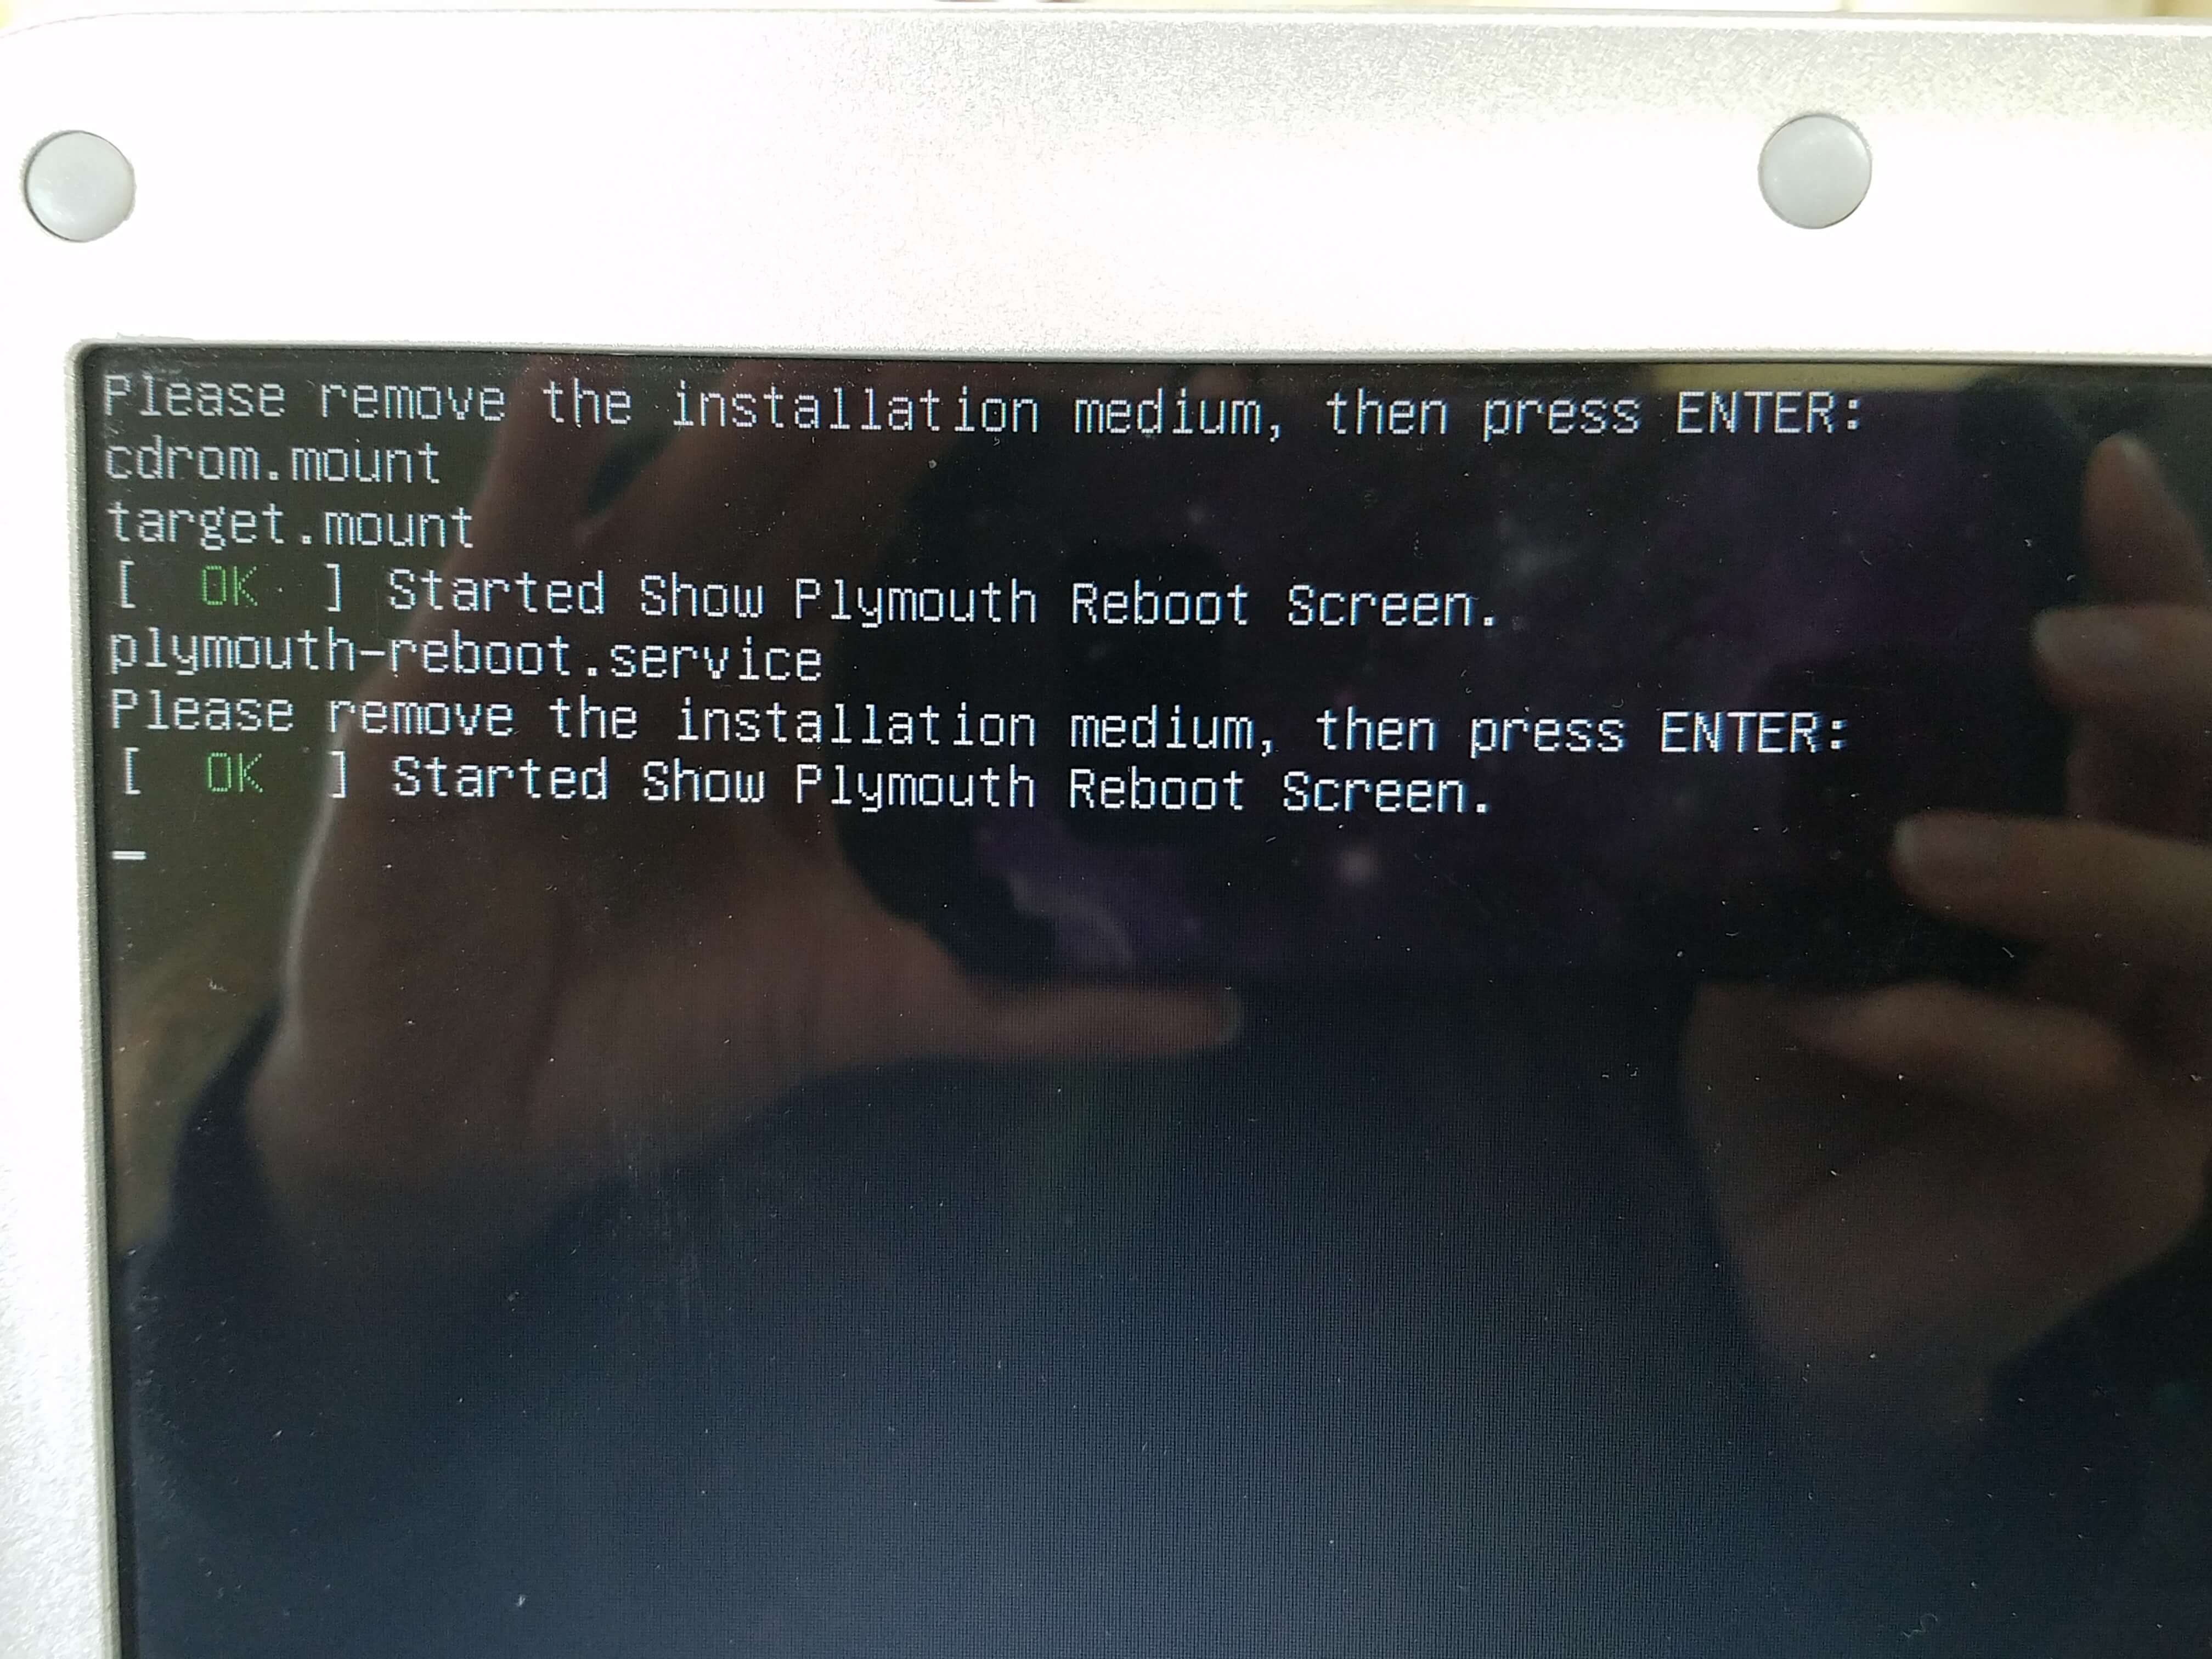 Remove USB message
All in all, I found the instructions on Linux Mint website extremely well documented. If anyone were to try installing a Linux distro for the first time, I would recommend Linux Mint.
Resources: